We South Indians like chutneys. Chutney goes well with all the main dishes.

It is one of the healthy habit to eat chutney with lunch /breakfast or snacks. Chutney is prepared using coconut/dals, vegetables etc. Here is a healthy chutney prepared using Ondelaga.

It is one of the healthy habit to eat chutney with lunch /breakfast or snacks. Chutney is prepared using coconut/dals, vegetables etc. Here is a healthy chutney prepared using Ondelaga.
Ondelaga /Gotukola is also known as Brahmi leaves.
Ondelaga is called in different names in different language.
Botanical name for Ondelaga is Centella Asiatica and other names are Indian Pennywort and Asiatic Pennywort. In Kannada these leaves are called as Ondelaga/ Uraga / Brahmi leaves.
In Telugu it is known as Saraswathi Akku, Tamil: Vallari Kirai, in Marati it is called as Karivan / Karivana. In Gujarathi is Khanda Brahmi , In Bengali it is known as Tulkudi adn in Hindi it is known as Bensag Brahmi.
Ondelaga leaves and benefits :
Ondelaga leaf is one of the medicinal herb which is also used in cooking. It is used as a memory enhancer. It contain antioxidants and regulates the blood sugar levels in diabetic people. Ondelaga has cooking property and it helps to keep the mind calm and free from anxiety. It also helps to sleep well. It is normally said that eating Ondelaga helps to improve our memory and good for children. The shape of the leaf is just like our cerebellum and it helps in controlling concentration and memory. Ondelaga leaf helps in rebuilding brain tissues by influencing the brain cells. It helps in building strong immunity in our body.
These Ondelaga Leaves are used in hair oil and is good for strong healthy hair.
Please note do not consume these leaves in big quantity, it might cause headache, giddiness.
Let us see the recipe now :
Do not fry these leaves much in oil. So that the medicinal value in the leaf will retain its properties in them.
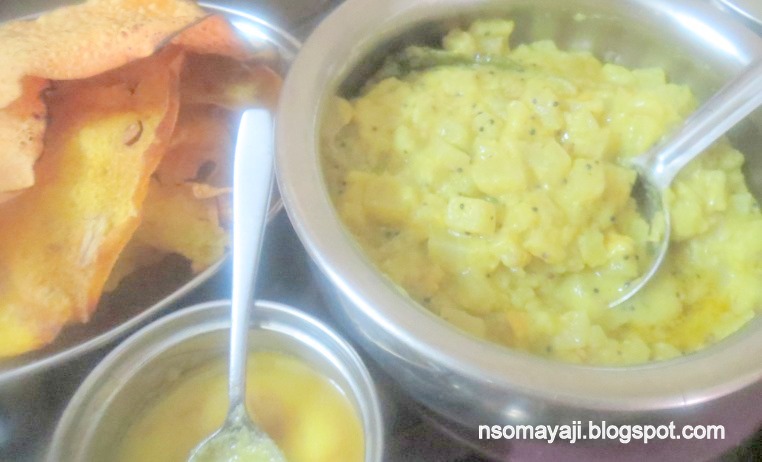
Ondelaga/Gotukola leaves chutney goes well with all the main dish. Yummy taste with hot rice and a teaspoon of ghee, goes well with dosas and idli also.
It is simple and healthy and anyone can try this chutney. You do get these Ondelaga Leaves in most of the market.
Tip : Handful of Ondelaga leaves are more than enough to use for 1 time. Do not eat regularly. Once in a week or twice a week will be ok.
These Ondelaga Leaves are from Our home. We have planted them in a small pot. They grow plenty within no time.
Lets see the recipe now :
Urid dal : 1 Tablespoon
Red chilly : 4 to 5
Curry Leaves : 5 to 6
Ingh /Asafoetida : A little
Tamarind : Small marble size
Fresh grated coconut : 1 Cup ( 1/2 of one small coconut)
Salt : As required
To Season/temper
Coconut Oil : 1 Teaspoon
Mustard seeds : 1/2 Teaspoon
Ingh /Asafoetida : A little
Curry Leaves : 5 to 6

2. Grate coconut and keep it aside.
3. Keep a small pan on the fire and heat. Add oil. Let it get heated.
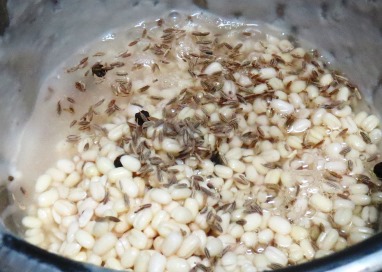
4. Add urid dal and fry till they turn golden brown. Remove fried urid dal to a plate.
5. Add red chilly and fry nicely. Let it get crunchy. Add ingh and curry leaves. Put off the fire.
6. Add grated coconut, ondelaga leaves and mix it well. Let it cool.

7. Now grind all the ingredients required salt, tamarind and required water til it turns your desired consistency.
8. Remove from the mixi jar and put it in a serving bowl. Add tempered mustard and curry leaves.

9. Serve with the main dish of your choice.
10.We had Ondelaga /Gotukola Leaves chutney with Hot plain rice with ghee. NO need to say it was Yummmmmmmy..
Type 1 : The leaf is small and thin. You can use the stem also in this type of leaf.
 Type : 2 : The leaf is thick, darker than the local variety. It is hybrid leaf. Remove the stem and then use it. The stem is bit hard and it does not grind into paste. I have used these Ondelaga leaves from our garden
 Ondelaga leaves are also known as brahmi leaves. It is always better not to cook this leaves. You can also use these leaves like coriander leaves, putting it on the top. Cut into very thin pieces. I have seen in Cambodia ppl use this leaves even on the top of Pizza. ( As they are one or two whole leaves kept on the top of Pizza while serving). Use of more chilly is optional. Use of byadagi chilli is optional.You can use guntoor chilly also. ( The one who likes it very spicy). .
Time : 15 Minutes
Serves : 2 to 3.
Ondelaga leaves and benefits :
Ondelaga leaf is one of the medicinal herb which is also used in cooking. It is used as a memory enhancer. It contain antioxidants and regulates the blood sugar levels in diabetic people. Ondelaga has cooking property and it helps to keep the mind calm and free from anxiety. It also helps to sleep well. It is normally said that eating Ondelaga helps to improve our memory and good for children. The shape of the leaf is just like our cerebellum and it helps in controlling concentration and memory. Ondelaga leaf helps in rebuilding brain tissues by influencing the brain cells. It helps in building strong immunity in our body.
These Ondelaga Leaves are used in hair oil and is good for strong healthy hair.
Please note do not consume these leaves in big quantity, it might cause headache, giddiness.
Let us see the recipe now :
Do not fry these leaves much in oil. So that the medicinal value in the leaf will retain its properties in them.
Ondelaga/Gotukola leaves chutney goes well with all the main dish. Yummy taste with hot rice and a teaspoon of ghee, goes well with dosas and idli also.
It is simple and healthy and anyone can try this chutney. You do get these Ondelaga Leaves in most of the market.
Tip : Handful of Ondelaga leaves are more than enough to use for 1 time. Do not eat regularly. Once in a week or twice a week will be ok.
These Ondelaga Leaves are from Our home. We have planted them in a small pot. They grow plenty within no time.
Lets see the recipe now :
Things Needed :
Ondelaga /Gotukola Leaves : 1 HandfulUrid dal : 1 Tablespoon
Red chilly : 4 to 5
Curry Leaves : 5 to 6
Ingh /Asafoetida : A little
Tamarind : Small marble size
Fresh grated coconut : 1 Cup ( 1/2 of one small coconut)
Salt : As required
To Season/temper
Coconut Oil : 1 Teaspoon
Mustard seeds : 1/2 Teaspoon
Ingh /Asafoetida : A little
Curry Leaves : 5 to 6
Method :
1. Wash and keep aside Ondelaga leaves and curry leaves.
2. Grate coconut and keep it aside.
3. Keep a small pan on the fire and heat. Add oil. Let it get heated.
4. Add urid dal and fry till they turn golden brown. Remove fried urid dal to a plate.
5. Add red chilly and fry nicely. Let it get crunchy. Add ingh and curry leaves. Put off the fire.
6. Add grated coconut, ondelaga leaves and mix it well. Let it cool.

7. Now grind all the ingredients required salt, tamarind and required water til it turns your desired consistency.
8. Remove from the mixi jar and put it in a serving bowl. Add tempered mustard and curry leaves.

9. Serve with the main dish of your choice.
10.We had Ondelaga /Gotukola Leaves chutney with Hot plain rice with ghee. NO need to say it was Yummmmmmmy..
Note:
There are two varieties of Ondelaga Leaves.Type 1 : The leaf is small and thin. You can use the stem also in this type of leaf.


Time : 15 Minutes