I have already prepared this Kayi Kadubu/Coconut Jaggery Kadubu in different methods. Here is one more method that you can prepare soft and yummy Coconut - Jaggery Kadubu.
This type of Coconut Kadubu I have seen in sister Sujatha's house in Udyavar.


Coconut - Jaggery Kadubu done in this way stays soft even when it is cooled.
This time I have tried this with Rice flour and used home grown Turmeric leaves. So happy to use home grown Turmeric leaves, its pure and no chemical menure is used.
The procedure is simple. The procedure goes like this. Boil water and put fine rice flour, stir continuously till it turns as one whole ball. Put off the fire and leave it cool a bit. Then kneed the dough nicely and divide into small ball. Roll these balls like small chapati, fill in the sweet jaggery coconut mixture and fold it. Place this in turmeric leaf. Close the leaf by two sides and steam cook for 30 to 40 minutes. The aroma of cooked coconut jaggery spread the house and you crave to eat the food you prepared.

The coconut jaggery mix is prepared this way. Grate fresh coconut and powder jaggery. Powder 4 to 5 cardamom pods into powder. Put this mixture of coconut- jaggery - cardamom mixture in a pan and stir for a while till the moisture (water content) disappear. But let the mixture have glossy look. (Do not stir till it gets dry). Coconut - Jaggery mixture is also ready to use.
Healthy way of eating is always good for health.
Jaggery is used and jaggery has loads of healthy properties.
Coconut is good for health too.
The coconut - jaggery mixture can be used for preparing modakas.
This is steamed food.
Let us see the recipe now :
Boiling water : 3 1/2 Cups
Grated Coconut : 1 Bowl (1 Small coconut).
Jaggery : 1/2 Cup or little more
Ghee : 1 Teaspoon
Salt : A little
Cardamom : 3 to 4 Pods
Turmeric Leaves : 6 to 8
 Method :
1. Wash turmeric leaves and cut into 1/2 and keep them aside.

2. Grate coconut and powder jaggery and cardamom.

3. Keep a pan on the fire and add coconut jaggery -cardamom mixture.


4. Stir nicely till it the moisture disappear. Put of the fire and let it cool.

5. Keep a big pan and put 3 glasses of water. Add 1ts of ghee and let it boil.
6. Add a very little salt. Put rice flour slowly once the water starts to boil.


7. Stir slowly and continuously till it turns as one whole ball.


8. Put off the fire and let it cool a bit. (Not completely).
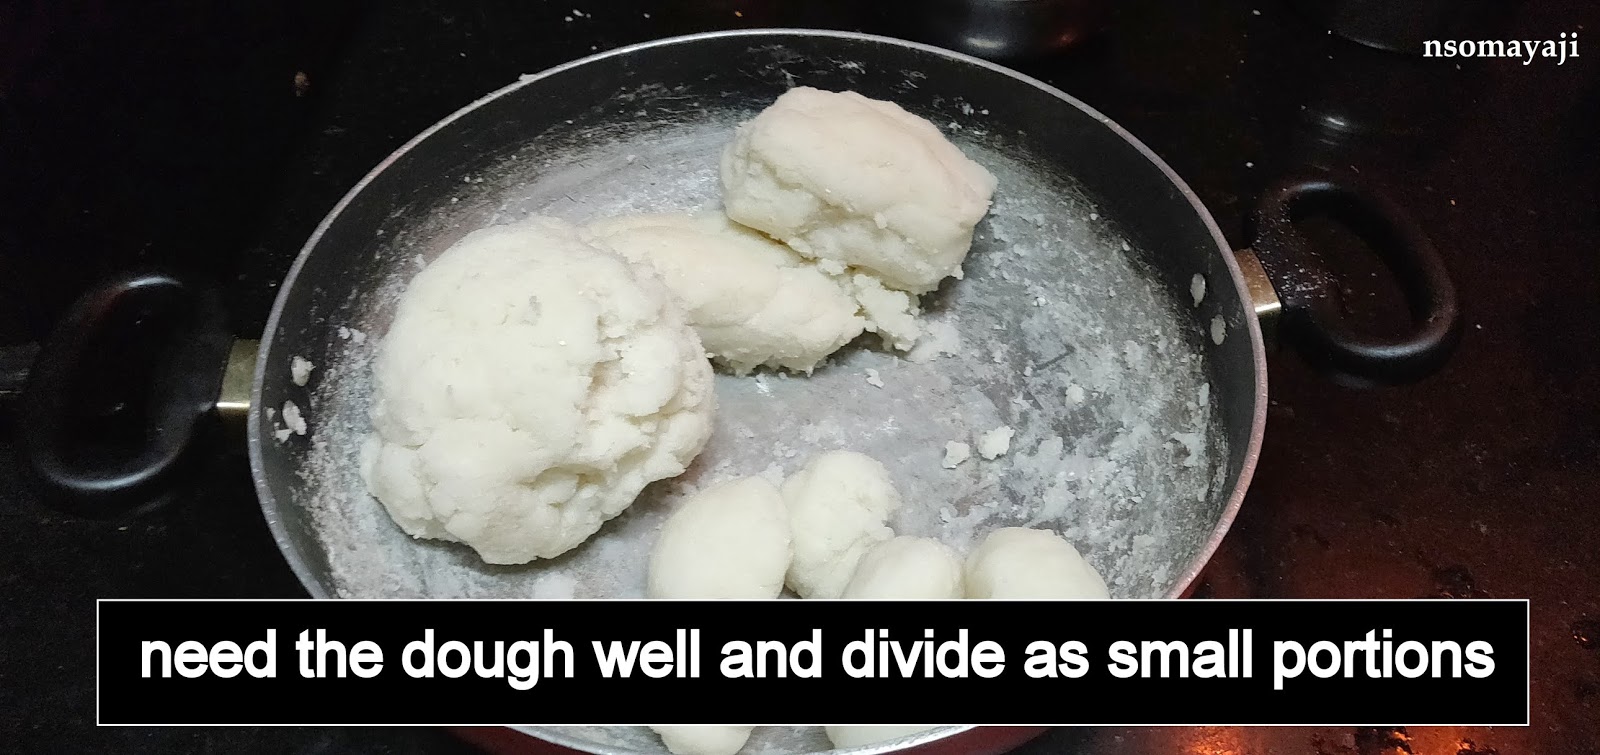
9. Wet your hands and then kneed the rice flour dough nicely.

10. Divide them into small portions. (Turn them as small ball shape).
11. Roll them as small poori and place the coconut mixture inside and fold it.


12. Place this folded Kadubu in turmeric leaves and arrange them in a plate.


13. Keep a steamer or pressure cooker on fire and put little water in it. Place a plate.

14. Keep all the kadubu kept in turmeric leaves. Arrange them nicely.

15. Steam cook for 35 to 40 minutes on medium flame.

 16. Open the lid and check by piercing a knife edge to kadubu. It should not stick.

17. Take out the kadubu from turmeric leaves and serve.

18. Serve with spoon of ghee on top.


No need to use more ghee. Adding a tsp of ghee helps the rice flour not to get stuck at the bottom.
One must use fresh coconut. Use of more jaggery is optional.
Total Time : 50 Minutes.
Serves : 4 to 5


This time I have tried this with Rice flour and used home grown Turmeric leaves. So happy to use home grown Turmeric leaves, its pure and no chemical menure is used.
The procedure is simple. The procedure goes like this. Boil water and put fine rice flour, stir continuously till it turns as one whole ball. Put off the fire and leave it cool a bit. Then kneed the dough nicely and divide into small ball. Roll these balls like small chapati, fill in the sweet jaggery coconut mixture and fold it. Place this in turmeric leaf. Close the leaf by two sides and steam cook for 30 to 40 minutes. The aroma of cooked coconut jaggery spread the house and you crave to eat the food you prepared.

The coconut jaggery mix is prepared this way. Grate fresh coconut and powder jaggery. Powder 4 to 5 cardamom pods into powder. Put this mixture of coconut- jaggery - cardamom mixture in a pan and stir for a while till the moisture (water content) disappear. But let the mixture have glossy look. (Do not stir till it gets dry). Coconut - Jaggery mixture is also ready to use.
Now we will prepare Turmeric leaves Coconut Jaggery Kadubu.
Sweet Tooth Lovers really love to have this Kadubu.Healthy way of eating is always good for health.
Jaggery is used and jaggery has loads of healthy properties.
Coconut is good for health too.
The coconut - jaggery mixture can be used for preparing modakas.
This is steamed food.
Let us see the recipe now :
Things Needed :
Rice flour : 2 CupsBoiling water : 3 1/2 Cups
Grated Coconut : 1 Bowl (1 Small coconut).
Jaggery : 1/2 Cup or little more
Ghee : 1 Teaspoon
Salt : A little
Cardamom : 3 to 4 Pods
Turmeric Leaves : 6 to 8

1. Wash turmeric leaves and cut into 1/2 and keep them aside.

2. Grate coconut and powder jaggery and cardamom.

3. Keep a pan on the fire and add coconut jaggery -cardamom mixture.


4. Stir nicely till it the moisture disappear. Put of the fire and let it cool.

5. Keep a big pan and put 3 glasses of water. Add 1ts of ghee and let it boil.
6. Add a very little salt. Put rice flour slowly once the water starts to boil.


7. Stir slowly and continuously till it turns as one whole ball.


8. Put off the fire and let it cool a bit. (Not completely).
9. Wet your hands and then kneed the rice flour dough nicely.
10. Divide them into small portions. (Turn them as small ball shape).
11. Roll them as small poori and place the coconut mixture inside and fold it.


12. Place this folded Kadubu in turmeric leaves and arrange them in a plate.


13. Keep a steamer or pressure cooker on fire and put little water in it. Place a plate.

14. Keep all the kadubu kept in turmeric leaves. Arrange them nicely.

15. Steam cook for 35 to 40 minutes on medium flame.


17. Take out the kadubu from turmeric leaves and serve.

18. Serve with spoon of ghee on top.


Note :
Rice flour should be very fine to get good Kayi Kadubu.No need to use more ghee. Adding a tsp of ghee helps the rice flour not to get stuck at the bottom.
One must use fresh coconut. Use of more jaggery is optional.
Total Time : 50 Minutes.
Serves : 4 to 5
Same dough and same coconut Jaggery mixture....Modakas


